How To Clean a Flute
Cleaning your flute is a maintenance procedure which every flutist should know. However, its complexity varies by the type of cleaning that the flute needs. Cleaning a flute with a swab is incredibly simple, for instance, whereas doing a deep clean is quite complicated and should only be attempted by a professional repair person.
In this article, we’re going to go over the basic cleaning techniques you’ll need to know for the flute. We’re also going to cover all the common mistakes that can be made during the cleaning procedures, so that you can avoid damaging your flute.
Technique 1: Swabbing the flute
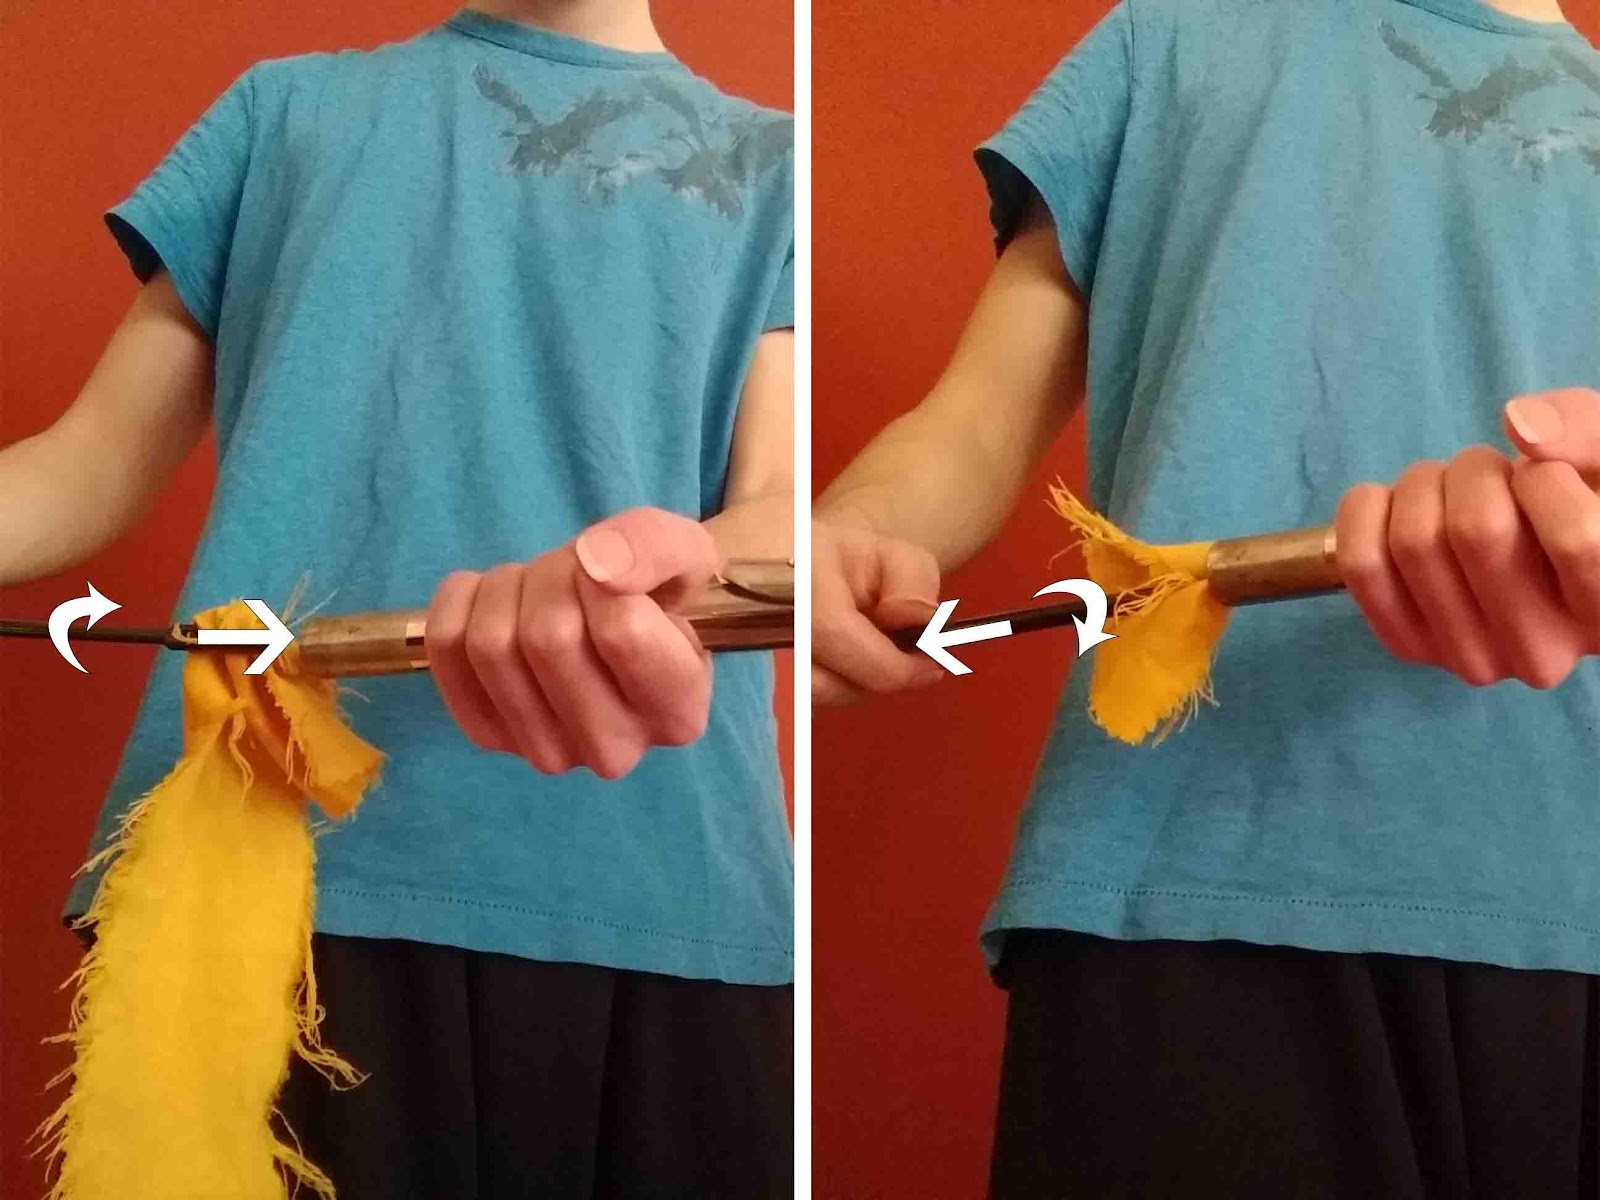
The easiest way to clean a flute is to slowly push a swab into each part and use a gentle twisting motion to absorb as much moisture as possible. Continue using the same twisting motion as you put the rod in and remove it. Swab every part of the flute, and do not push the rod all the way through the body.
Swabbing your flute is the most basic maintenance skill there is for the flute. You should do it every time you put your flute away after playing it, in order to avoid buildup of saliva.
The only two things you need to swab your flute are:
- A cleaning rod
- A cleaning cloth (preferably a silk microfiber cloth designed for cleaning flutes)

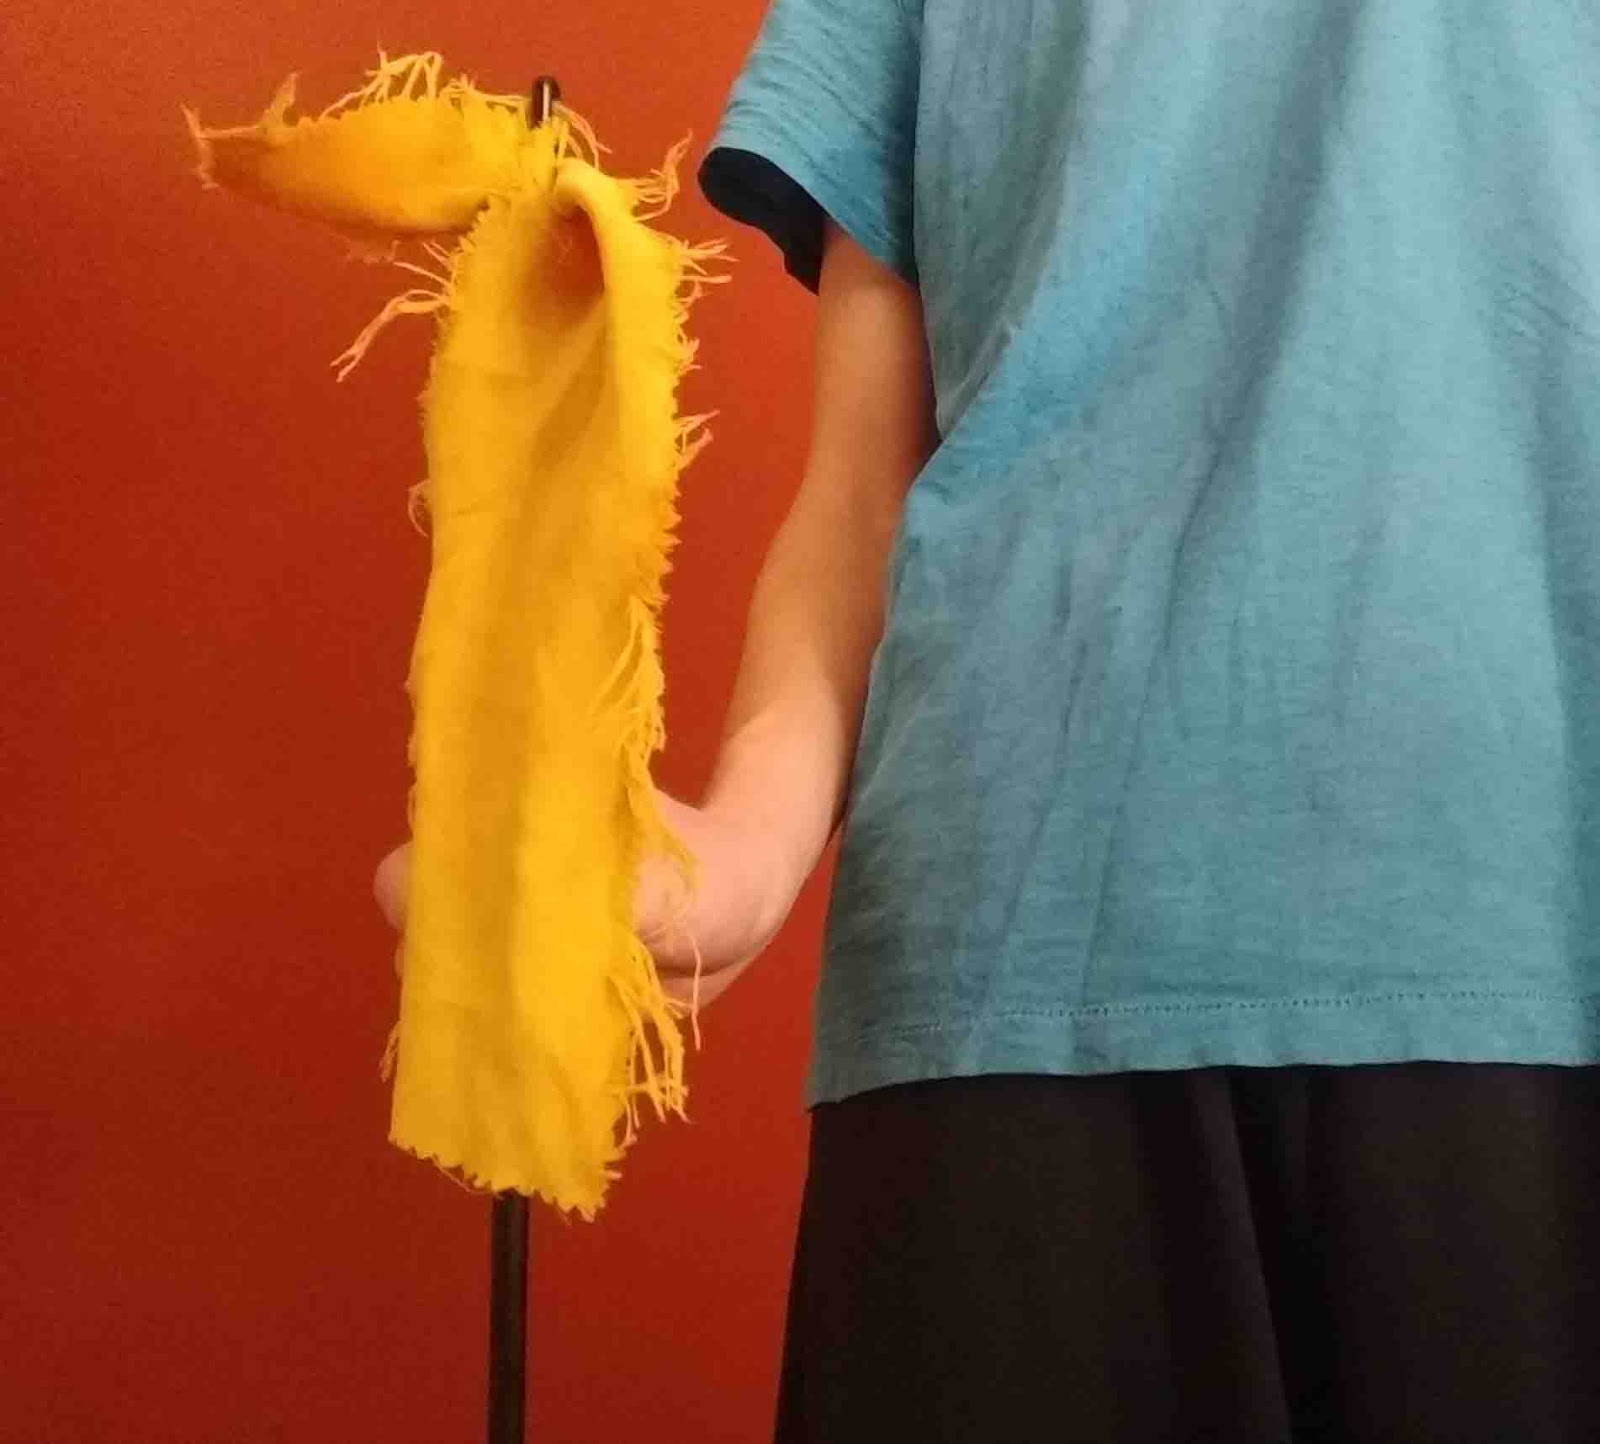
Step 1: Attach the cleaning cloth to the rod
On the end of the cleaning rod you’ll find a small slot. This is where the cleaning cloth should go. You don’t need to pull the cloth all the way through; just an inch or two will be fine. Make sure that you twirl the cloth around the rod so all the parts of the rod which might contact the flute are covered. The rods are sometimes made of metal, and you don’t want the rod accidentally scratching your flute.
Step 2: Swabbing the head joint
The order in which you swab the parts of the flute does not matter, but for the sake of simplicity let’s start with the head joint.
Insert the cleaning rod with the cloth attached into the flute. Do this slowly, and twist the head joint as you do so. You don’t want to push the rod all the way in; the crown of the head joint can easily be pushed out, which you don’t want to do.
After you’ve pushed the rod in (while twisting the head joint) as far as you can without hitting the crown, slowly remove the rod while using the same twisting motion. This makes sure that you remove as much of the saliva as possible.
Step 3: Swabbing the foot joint
The foot joint is the easiest part of the flute to swab. You’re going to use the exact same technique that you used to swab the head joint, but now you don’t have to worry about hitting a crown at the end.
Again, slowly insert the rod into the foot joint while twisting, and do so until the cloth reaches every part on the inside of the tube (there is no need to push it any further than this). Then, use the same twisting motion to pull it out.
Step 4: Swabbing the body
Swabbing the body is a two-step process, because you need to swab both ends. Do not attempt to push the swab all the way through the body. The flute is longer than the cleaning rod, so the rod will most likely get stuck if you attempt this. Instead, just push the rod about halfway through the body, then pull it out and do the same to the other end.
Otherwise, swabbing the body is the exact same process that you did for the foot joint and the head joint. Slowly insert the rod while twisting the body, then slowly remove the rod while using the same twisting motion.
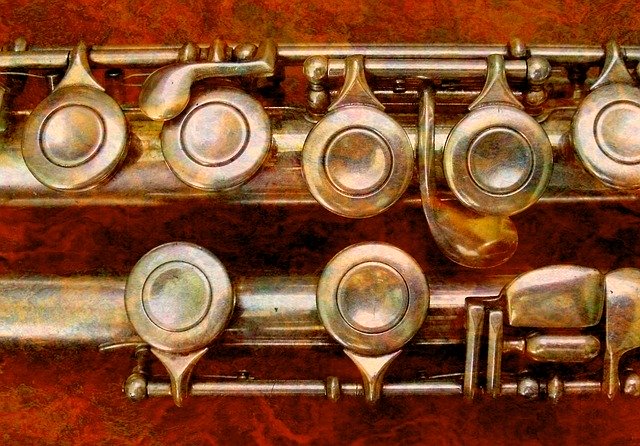
Technique 2: Wiping down the flute
To clean the outside of the flute, use a dry microfiber polish cloth to wipe down every part of the flute which doesn’t have machinery. Then use the cloth to gently wipe the surface of each key. Always wipe the keys in a motion perpendicular to the rods. Avoid wiping the rods themselves.
Much like swabbing, wiping down the exterior of the flute is something that you will probably want to do each time that you play. This is just to make sure that you get the gunk off the outside of your flute and keep it looking shiny.
The only item that you need to do this is a microfiber polish cloth. You can find one here, if you do not already have one.
The process itself is even simpler than swabbing; simply use the polish cloth to wipe down the entire exterior of the flute. However, there are a few precautions which you should take as you do this.
- Do not mess with the crown of the head joint.
- Be gentle on the lip plate.
- Use as little force as possible when cleaning the rods. These parts are easily damaged. Use the lightest stroke when cleaning them. You may want to avoid these areas altogether.
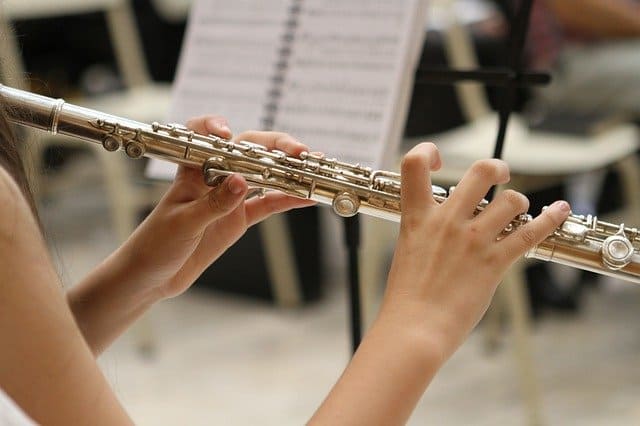
- Be gentle on the surface of the keys. The keys are not meant to be pressed with a lot of force, so you should make sure not to do so when wiping them down. The direction that you wipe the keys also matters. In particular, you should wipe the keys in the direction perpendicular to the rods, shown below:

Disinfecting the flute
To disinfect a flute, use a rubbing alcohol wipe to gently wipe the surface of the lip plate. Use a dry polish cloth to wipe down the surface of the keys. Do not use the alcohol wipes on the keys.
The only thing that you can really do to disinfect a flute is to use a rubbing alcohol wipe (discussed in the section on tarnish; see below) on the lip plate. You can’t really do this on the keys, however, because the alcohol can potentially damage the machinery of the flute as well as the pads beneath the keys.
Just using your regular polish cloth on the keys is about the most you can do. It won’t exactly kill all the germs, but at least it won’t destroy your flute. If you are concerned about infection, I recommend making sure that you wash your hands with warm water and soap each time before you play.
Also make sure that you keep your swab and polish cloth clean; you can wash them as you would any other cloth.
Technique 3: Removing tarnish
Tarnish can be cleaned off of a flute with either a specialized tarnish cloth or alcohol. You can use the tarnish cloth to wipe down tarnished areas. Alcohol is more effective, but make sure to apply it to a microfiber cloth and use the cloth to wipe the flute. Avoid cleaning tarnish off the keys or rods.
Removing tarnish can be somewhat more complicated than the other procedures, and it is important to take necessary precautions to make sure that you do not damage your flute by accident.
In general, I would avoid trying to remove tarnish off the rods of the flute. Rods are so easily damaged that anything which has an effect on the tarnish may also have a permanent damaging effect on the rods.
Using a tarnish cloth
The simplest way to remove tarnish is with a tarnish cloth specially made for the flute. You can use it exactly the same way that you use a polish cloth (see technique 2), but unlike the polish cloth it should remove the tarnish to some extent.
However, a tarnish cloth may only be partially effective. Tarnish can be persistent, and if the tarnish cloth does not work you may want to try a different method.
Using alcohol
If the tarnish cloth does not work, alcohol probably will. However, I do not recommend using alcohol as your first approach. If any of the alcohol gets on the pads or rods, it can deal permanent damage to the flute. When using alcohol, you should aim to keep it away from the pads and rods. Only use alcohol on the parts of the flute that are away from the machinery.
If you do choose to use alcohol, there are two good options.
Isopropyl alcohol, or better known as rubbing alcohol, should be quite effective at removing tarnish. You can typically find it on small single-use wipes, and you can use these wipes directly on your flute if you choose to do so (again, avoid the rods and machinery). Alcohol wipes are generally great if you are playing outside your home and don’t have access to other cleaning supplies.
Denatured alcohol is more effective than isopropyl alcohol at cleaning tarnish, but it is also more capable of doing damage to your flute if you are not careful. You can generally find it in cans that look like they were designed for paint thinner.
If you are using denatured alcohol, always make sure to apply it first to a microfiber cloth rather than putting it directly on your flute. Denatured alcohol is highly corrosive, and it will damage the flute if you just pour it on. You only need a little bit of alcohol on a cloth, which you can use to wipe down the flute (I’ll say it again: don’t wipe near the pads or rods).
Do not, under any circumstances, pour alcohol into your flute. It will dissolve the cork in the head joint, wreck every pad on the instrument, and partially break down the metal that your flute is made of. In fact, do not pour anything into your flute. Even water can damage the pads.
Deep cleaning
The only good way to get a deep cleaning is to take your flute to a specialized repair person. The flute needs to be disassembled for a deep cleaning, which is too complicated for most flutists to attempt.
I do not recommend attempting to deep clean your flute by yourself. If your flute absolutely needs a deep cleaning, then you should probably find a trusted repair person. Ideally, the repair person should specialize in the flute. If the cleaning is done wrong, the flute could be damaged such that it never plays the same again. So, be careful when vetting your repair person.
I recommend serious consideration before taking your flute in for a deep cleaning. Flutes shouldn’t need this kind of cleaning too often, and if you can find an easier cleaning will suffice then it is better to do that. Deep cleanings are expensive and may not always be necessary.
What not to do
It is useful to know about some of the most common mistakes that are made when attempting to clean a flute. This is a list of things that you should never try, as you may ruin your flute permanently.
Do not use silver polish
Silver polish, while effective at removing tarnish, will also remove a layer of silver from the flute. This will gradually wear down the flute. Furthermore, if any of the silver polish touches the machinery, then the mechanism will be permanently damaged.
Do not leave the cleaning cloth inside the flute
Your swab is intended to collect moisture from the inside of the flute and remove it. If you leave the cleaning cloth inside, then all of the stuff that you were trying to remove from the flute also stays inside. This can wear down the pads rather quickly, so make sure that you are leaving the cleaning cloth somewhere other than on the inside of your flute. Inside the case next to the flute is fine.
Do not use toothpaste
Toothpaste is a bizarre and perhaps creative way to try to clean your flute, but it isn’t going to work. It will, however, slow down the machinery of your flute beyond repair.
Do not dunk the flute in water or any other fluid
This is a surefire way to destroy both the pads and the machinery of the flute. Brass instruments can be cleaned this way. Woodwind instruments cannot. Don’t do it.
Conclusion
The techniques which I’ve listed above are, to the extent of my knowledge, the most common cleaning techniques which you’ll need to use on the flute.
If you were looking for me to describe how to disassemble and deep clean your flute (which should never be attempted without disassembly) then I am sorry to say that I cannot help you. Doing that sort of thing requires more specialized knowledge and study which is beyond most ordinary musicians.
Nonetheless, I hope that this article was of some use to you, and that you are now better equipped to keep your flute clean in the ways that are more accessible.